
Master the custom chandelier design workflow with our step-by-step guide. Transform your space and create stunning lighting effortlessly!
TL;DR:
- Transforming a room with the right lighting is a powerful interior design move that requires careful planning and collaboration. A successful custom chandelier begins with precise measurements, clear design goals, and ongoing communication between stakeholders to ensure architectural harmony and lighting quality. Proper assembly, thorough verification, and detailed documentation are essential to achieving a stunning, well-integrated final result.
Transforming a room with the right lighting is one of the most powerful moves in interior design, yet it’s also one of the most intimidating. A crystal chandelier that perfectly matches your architecture, complements your decor, and fills the room with breathtaking light doesn’t happen by accident. It happens by design. This guide walks you through the full custom chandelier workflow, from that first burst of inspiration to the moment you flip the switch and see your vision realized. Whether you’re a homeowner with a dream or a designer coordinating for a client, this step-by-step approach removes the guesswork entirely.
Key Takeaways
| Point | Details |
|---|---|
| Preparation is critical | Begin with clear measurements, space analysis, and understanding of design requirements. |
| Collaborative design ensures quality | Work closely with designers and fabricators for creative and practical success. |
| Step-by-step construction | Follow proven assembly and installation practices for safe, stunning results. |
| Final verification prevents mistakes | Check the finished chandelier against your design goals before finalizing installation. |
| Expert resources help | Accessing guides and checklists streamlines the custom workflow and maximizes outcomes. |
Getting started: What you need for custom chandelier design
Every successful custom chandelier project begins long before anyone picks up a crystal or reaches for a wrench. The groundwork phase is where most people stumble, usually because they skip important steps in favor of jumping straight to the pretty parts. Resist that urge.
The first move is a pre-design consultation. This conversation covers everything from ceiling height and room dimensions to your preferred aesthetic and lighting needs. As outlined in this custom chandelier design guide, the consultation and collaborative design phases are foundational for retail customers who want results that actually match their vision. Without this foundation, even the most beautiful chandelier can look out of place or underperform.
You’ll also need to gather your essential tools and materials before anything else. Here’s what belongs on your starting checklist:
Essential tools and materials:
- Tape measure and laser distance meter for precise room measurements
- Graph paper or design software for sketching layouts
- Ceiling weight capacity documentation from your structural plans
- Electrical diagram showing junction box location and load capacity
- Reference photos organized by style, scale, and mood
- A detailed chandelier parts checklist to ensure no component is overlooked
| Consideration | What to measure | Why it matters |
|---|---|---|
| Ceiling height | Floor to ceiling in feet | Determines drop length and chandelier scale |
| Room size | Length x width in feet | Guides diameter selection |
| Electrical load | Watts available at junction box | Ensures safe bulb and crystal counts |
| Decor style | Existing materials and finishes | Informs crystal type and frame finish |
| Natural light | Window placement and direction | Affects how crystals will refract light |
Architectural fit is non-negotiable. A chandelier that’s visually stunning in isolation can look completely wrong if it doesn’t relate to the ceiling molding, room proportions, or surrounding furniture. This is where many DIY projects go sideways.
Pro Tip: Before you do anything else, write down your ceiling height, room dimensions, and one clear sentence describing the mood you want the room to have when the lights are on. These three pieces of information will anchor every decision you make throughout the rest of the process.
Design phase: Creating your chandelier concept
With the groundwork in place, the creative work can actually begin. This is the stage most people get excited about, and rightfully so. It’s where your chandelier goes from being an idea to being a plan with dimensions, materials, and structure.
Start by pulling together visual inspiration. Mood boards, Pinterest collections, and architectural photography all help you and your designer get onto the same page fast. Pay close attention to how the chandeliers in your reference images relate to the spaces around them. Notice ceiling height, wall color, floor material, and furniture density. The details matter more than the chandelier in isolation. Learning how crystal chandeliers transform a space can sharpen your eye for what actually works architecturally versus what simply looks good in a photo.
Here’s how the creative design phase typically unfolds in sequence:
- Gather and analyze inspiration images that reflect your aesthetic goals and architectural context
- Identify crystal types and shapes that match your desired light quality (teardrops for soft diffusion, pendalogues for dramatic sparkle, spheres for modern minimalism)
- Determine the chandelier’s overall form including silhouette, tier count, arm style, and finish
- Sketch or draft a layout using software or hand drawings to confirm proportions against your room measurements
- Review the draft with a designer or fabricator to catch technical conflicts early
- Finalize material selections including frame material, chain length, and crystal grade
Understanding the different chandelier styles explained helps enormously at this stage. Knowing the difference between a Maria Theresa style and a modern linear suspension changes how you approach proportions and crystal density.
| Design factor | Classic workflow | Modern workflow |
|---|---|---|
| Inspiration sources | Historical architecture, antique references | Contemporary interiors, industrial design |
| Crystal preference | Faceted teardrops, pendalogues, rosettes | Clear geometric shapes, minimal bead strings |
| Frame style | Ornate brass or gold candelabra arms | Brushed nickel, matte black, geometric frames |
| Light distribution | Warm ambient glow from multiple candelabra bulbs | Direct and accent LED with high-contrast sparkle |
| Collaboration style | Formal design review with detailed blueprint | Iterative rapid prototyping with 3D rendering |
| Flexibility | Lower tolerance for deviation from plan | Higher adaptability during build phase |
Light distribution deserves as much attention as aesthetics. The way your crystals are arranged and angled directly determines how light fans across your walls and ceiling. Dense crystal clusters create sweeping reflections, while spaced-out arrangements let individual prisms cast distinct rainbow effects. Think about how the room will actually be used and what kind of ambiance serves that purpose.
Pro Tip: Even a rough hand sketch on graph paper is dramatically more useful than a mental image. A sketch forces you to commit to proportions, which reveals problems before you’ve spent a dollar on materials.
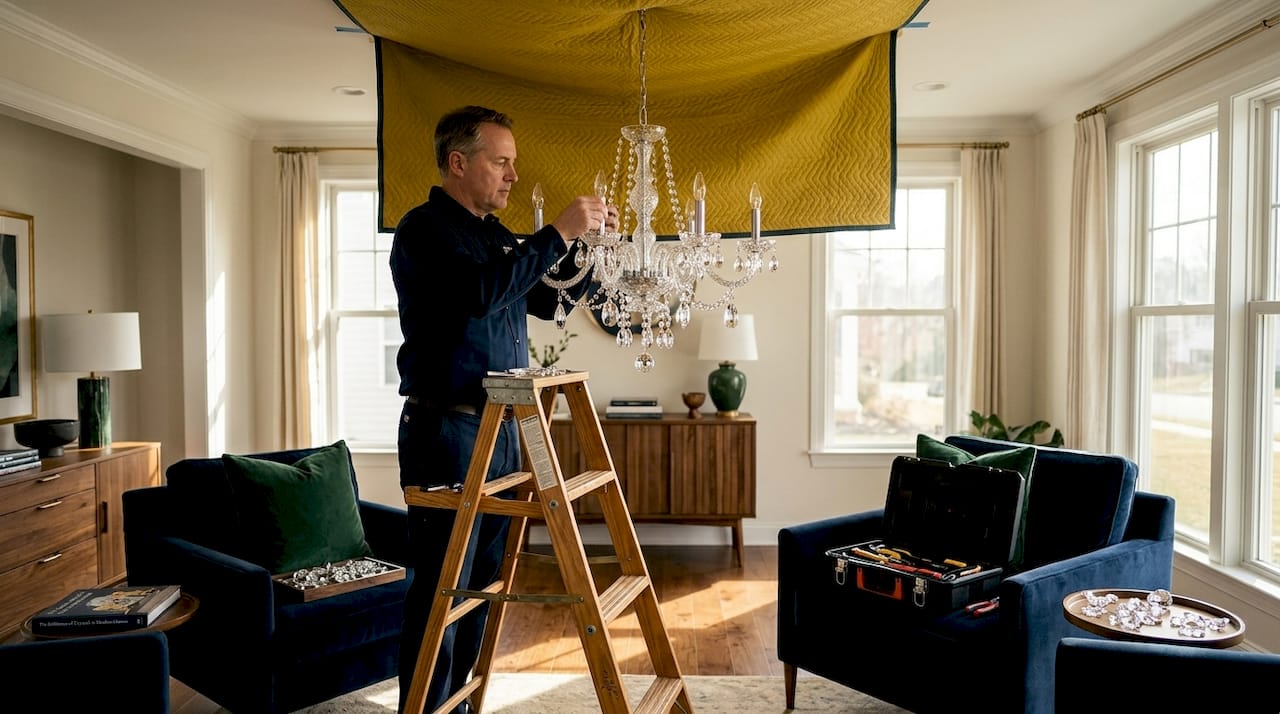
Building your custom chandelier: Steps and best practices
A finalized design is exciting, but the build phase is where plans meet physical reality. This is also where even experienced designers encounter surprises. Approach this stage methodically rather than quickly.
Here’s the standard assembly workflow for a custom crystal chandelier:
- Prepare all components by checking every crystal, arm, frame piece, and connector against your parts list before assembly begins
- Assemble the frame structure starting from the central canopy and working outward to arms and tiers
- Install wiring and sockets according to the electrical diagram, keeping all connections accessible for inspection
- Attach crystals in planned sequence working from the top down to avoid displacing already-installed pieces
- Verify structural integrity at each tier before adding the next level of crystals
- Conduct a pre-installation weight check and compare against ceiling junction box capacity
Knowing how to install chandelier crystals correctly is a genuine skill. The order in which you add crystals affects not only the final look but also the stability of the assembly. Crystals added in the wrong sequence can shift load distribution and cause unwanted movement or imbalance.
Common mistakes to avoid during the build phase:
- Skipping the parts inventory check before assembly begins
- Attaching all crystals before testing the electrical connections
- Using wire that isn’t rated for the full chandelier weight
- Ignoring the ceiling mounting hardware specifications
- Forcing crystal connectors rather than replacing damaged ones
- Failing to photograph each assembly stage for future reference
Knowing how to spot real chandelier crystals is equally important during the build. Substituting lower-quality crystals mid-project can create noticeable inconsistencies in light refraction and visual clarity, especially under direct illumination.
Safety warning: Never connect the chandelier’s electrical wiring to live power during any phase of assembly or crystal installation. Always confirm the circuit breaker is locked off and verify the line is de-energized with a non-contact voltage tester before touching any wiring. A chandelier this beautiful is worth the extra minutes of precaution.
Handling crystals during assembly requires patience. Real crystal is dense and heavy, and even minor chips affect how light passes through the piece. Work on padded surfaces, handle crystals with clean cotton gloves, and never rush through the attachment process. The results of crystal chandelier craftsmanship show in the details, and those details are made or broken at this stage.

Final verification: Ensuring your chandelier meets design intent
Assembly complete. Now step back, because this final phase determines whether the project is truly finished or just physically done. There’s a meaningful difference between those two things.
The verification stage is your structured opportunity to evaluate the chandelier against every objective you established during the consultation and design phases. Don’t rush it because you’re eager to celebrate. Take your time.
Final verification checklist:
- Confirm overall scale looks proportionate to the room from every entry point and seated position
- Check that all crystals are securely attached with no loose pins or open hooks
- Test the electrical connections and confirm all bulbs are functioning
- Observe light distribution across walls and ceiling, comparing against your design intent
- Verify the chandelier hangs level without any visible tilt
- Check that the chain length places the fixture at the correct height for the room
- Inspect crystal alignment across tiers for visual consistency
- Ensure the frame finish matches the surrounding architectural details
Lighting quality often reveals itself only when you actually see the chandelier lit in the room. Shadows, hot spots, and uneven distribution may require minor adjustments to bulb wattage or crystal positioning. This is normal and expected, not a sign that something went wrong.
Architectural harmony is the final test. As the full customer experience from inquiry to installation demonstrates, a chandelier should feel like it was always meant to be in the space. If it competes with the architecture rather than complementing it, small adjustments to chain length or crystal density can make a significant difference. Understanding how crystal chandeliers enhance home decor gives you a clearer benchmark for what “right” actually looks like in a finished interior.
Pro Tip: Photograph every stage of your build and document all material specifications in a simple notebook or digital file. If you ever want to add crystals, repair a section, or replicate the design in another room, that documentation will save you enormous time and money.
Unique perspective: What most guides miss about custom chandelier design
Most chandelier guides focus on the technical steps and leave out the part that determines whether a project truly succeeds: the quality of communication throughout the process.
Here’s the uncomfortable reality. A chandelier can be structurally perfect, built from premium crystals, and still fail to satisfy because the homeowner’s real vision was never fully articulated. This happens constantly, and it’s not a fabrication problem. It’s a communication problem.
The step-by-step custom chandelier design process works best when every stakeholder, whether that’s a homeowner, interior designer, or fabricator, maintains an open feedback loop throughout the entire project. Not just at the beginning. Not just at the end. Throughout. That means sharing updated sketches when ideas evolve, flagging concerns the moment they arise, and staying flexible when reality doesn’t perfectly match the original plan.
Flexibility is actually a professional skill in chandelier design, not a sign of indecision. The rooms we design for are living spaces with unique quirks, lighting conditions that shift with the seasons, and architectural details that reveal themselves only when you’re physically in the space. Treating the design as locked the moment it’s sketched creates unnecessary rigidity that leads to costly corrections later.
There’s also a hidden benefit to the personalized design process that rarely gets discussed: the chandelier becomes meaningful in a way that a catalog purchase simply cannot replicate. When you’ve made deliberate choices about every crystal shape, every frame curve, and every chain link, the result carries the weight of intention. That quality communicates itself to everyone who walks into the room, even if they can’t articulate why.
Work with designers who ask questions you haven’t thought to ask yourself. Push back when something doesn’t feel right, even mid-build. Treat the workflow as a conversation rather than a sequence of completed tasks. That mindset shift produces better chandeliers than any single technical tip ever will.
Where to find crystal chandeliers and expert guidance
Ready to bring your custom chandelier vision to life? Crystal Place has been sourcing and supplying premium authentic crystal products since 1991, giving homeowners and designers direct access to Swarovski crystals, chandelier parts, custom design support, and the expertise to back it all up.
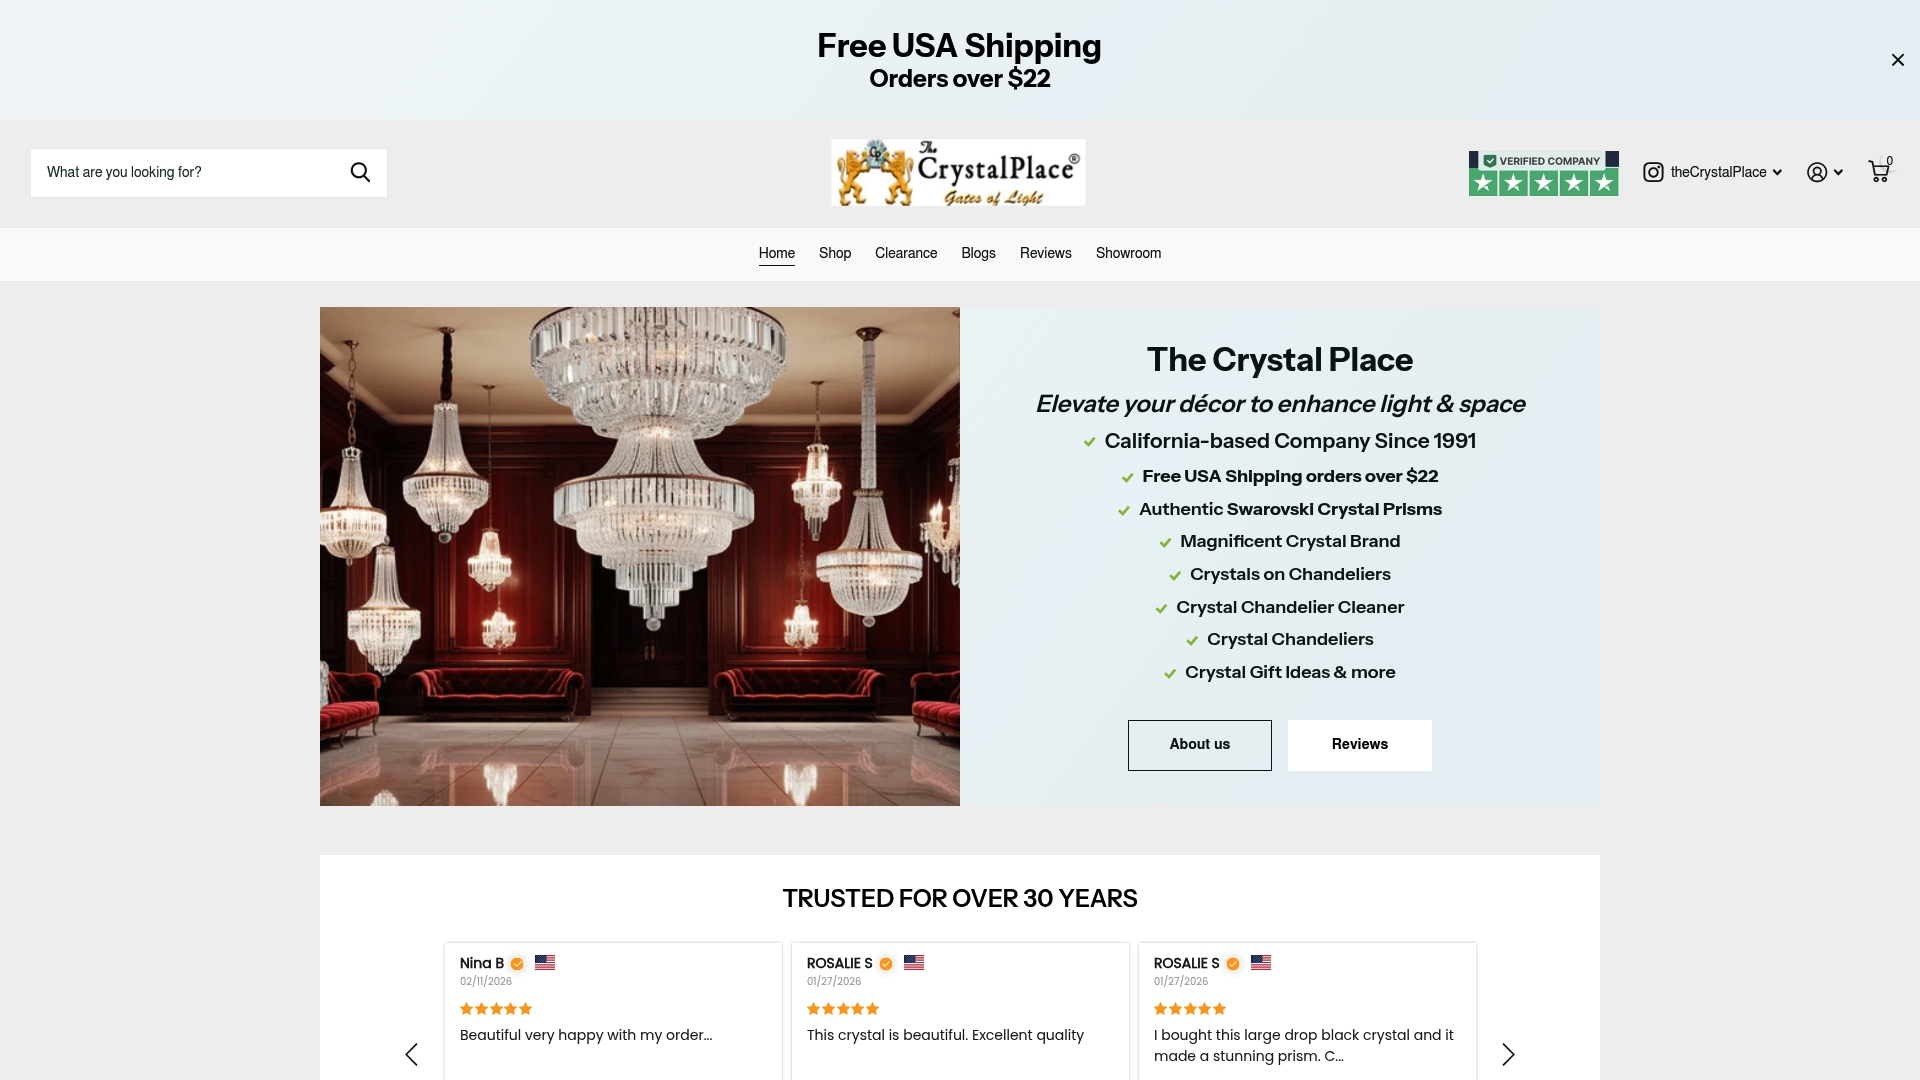
Whether you’re sourcing individual crystals to execute your own design, working with a designer who needs reliable premium materials, or exploring fully custom chandelier options, Crystal Place has the inventory, knowledge, and experience to support every stage of your project. Browse the full selection of crystal chandeliers and decor to find the crystals, accessories, and expert resources you need. Orders over $22 ship free within the USA, and the team is available to guide you from first inspiration to final installation.
Frequently asked questions
How long does the custom chandelier design workflow usually take?
Most custom chandelier projects require 4 to 8 weeks from initial consultation through installation, depending on complexity and materials. Highly detailed or large-scale designs may extend that timeline by several weeks.
What’s the best way to ensure my chandelier fits my room’s architecture?
Start with precise measurements and consult with designers who can guide the chandelier’s proportions and placement to match the space’s structure. A thorough custom chandelier design guide can help you establish the right sizing benchmarks from the start.
How do I choose the right crystals for my chandelier?
Selecting high-quality crystals involves considering shape, color, and light refraction, with expert advice helpful for matching your decor and desired ambiance. Understanding how to identify real chandelier crystals ensures you’re investing in materials that deliver lasting brilliance.
Are there any common mistakes to avoid in custom chandelier design?
Overlooking architectural details and rushing the design phase are frequent mistakes; careful planning and collaboration reduce errors significantly. Using a detailed chandelier parts checklist before you begin assembly is one of the most effective ways to avoid costly surprises.
Can I update or modify my chandelier after installation?
Yes, chandeliers can be updated with new crystals or parts, especially if the initial design is well-documented or modular. Thorough documentation during the original build makes future modifications far simpler and less expensive.
Recommended
- How to Design Custom Chandeliers: Step-by-Step for Elegance – CrystalPlace
- Master the Custom Crystal Chandelier Design Process – CrystalPlace
- How to Select Chandelier Crystals for Style and Brilliance – CrystalPlace
- Custom chandeliers: transform any space with crystal elegance – CrystalPlace
- How to create artful interiors with diamond painting