Learn how to design crystal centerpieces that elevate any event. Discover materials and techniques for stunning arrangements that wow guests.
TL;DR:
- Effective crystal centerpiece design relies on selecting the right materials, maintaining visual balance, and controlling lighting to enhance their brilliance. Using the anchor-bridge-texture system and applying the 6:4 ratio keeps arrangements from feeling crowded, while careful lighting maximizes the stones’ refraction. Simplifying arrangements with fewer pieces and strategic bases creates elegant, impactful displays that engage guests.
Designing crystal centerpieces is the art of arranging crystals and complementary decor elements to create focal points that lift the entire feel of an event. Done well, a crystal centerpiece stops guests mid-conversation. Done poorly, it looks like a cluttered shelf. The difference comes down to three things: the right materials, a clear compositional framework, and disciplined restraint. This guide walks you through how to design crystal centerpieces from material selection to final placement, with professional principles that work for weddings, galas, and intimate dinner parties alike. Crystalplace has supplied premium crystal components to decorators and event planners since 1991, making it a reliable starting point for sourcing quality pieces.
What materials and tools do you need for crystal centerpieces?
The best materials for crystal centerpieces combine genuine crystal specimens with structural supports that keep the arrangement stable and intentional. Cutting corners on materials shows immediately in the finished piece.
Crystal types and sizes
Crystal specimens fall into three functional categories based on visual weight. Anchors, bridges, and texture pieces each serve a distinct role in the composition. Anchors are large statement pieces, often over 10 pounds, that demand their own dedicated surface. Bridges are medium-sized crystals that connect the anchor to smaller elements. Texture pieces are small clusters or points that fill gaps and add detail. Swarovski crystal prisms, clear quartz points, amethyst clusters, and rose quartz spheres all work well across these three categories.
Supporting materials and tools
| Material or Tool | Purpose |
|---|---|
| Low vases or trays | Create a stable base and define the display boundary |
| Pedestals or risers | Add height variation and signal intentional display |
| Floral foam or wire | Secure botanical elements within the arrangement |
| LED tea lights or pin lights | Activate crystal brilliance from below or behind |
| Clear adhesive putty | Prevent small pieces from shifting during transport |
| Cutting pliers or wire snips | Trim floral wire and shape botanical stems |
| Protective gloves | Handle raw crystal edges safely |
Lighting tools deserve special attention. Translucent crystals glow when backlit; opaque crystals show best with side lighting. Choosing the wrong light position flattens the visual effect entirely, so plan your lighting setup before you finalize the arrangement.
How do you create balanced and visually appealing crystal centerpieces?
Balance in a crystal centerpiece comes from managing visual weight, color, and negative space together. Getting any one of these wrong throws off the whole composition.
Apply the 6:4 ratio for breathing room
Designers recommend a 6:4 ratio of crystal to clear space for maximum visual impact. That means for every six inches of crystal specimen, you leave four inches of open surface. This ratio prevents the arrangement from feeling crowded and lets each piece read clearly on its own. Guests’ eyes need somewhere to rest between focal points.
Use color palettes deliberately
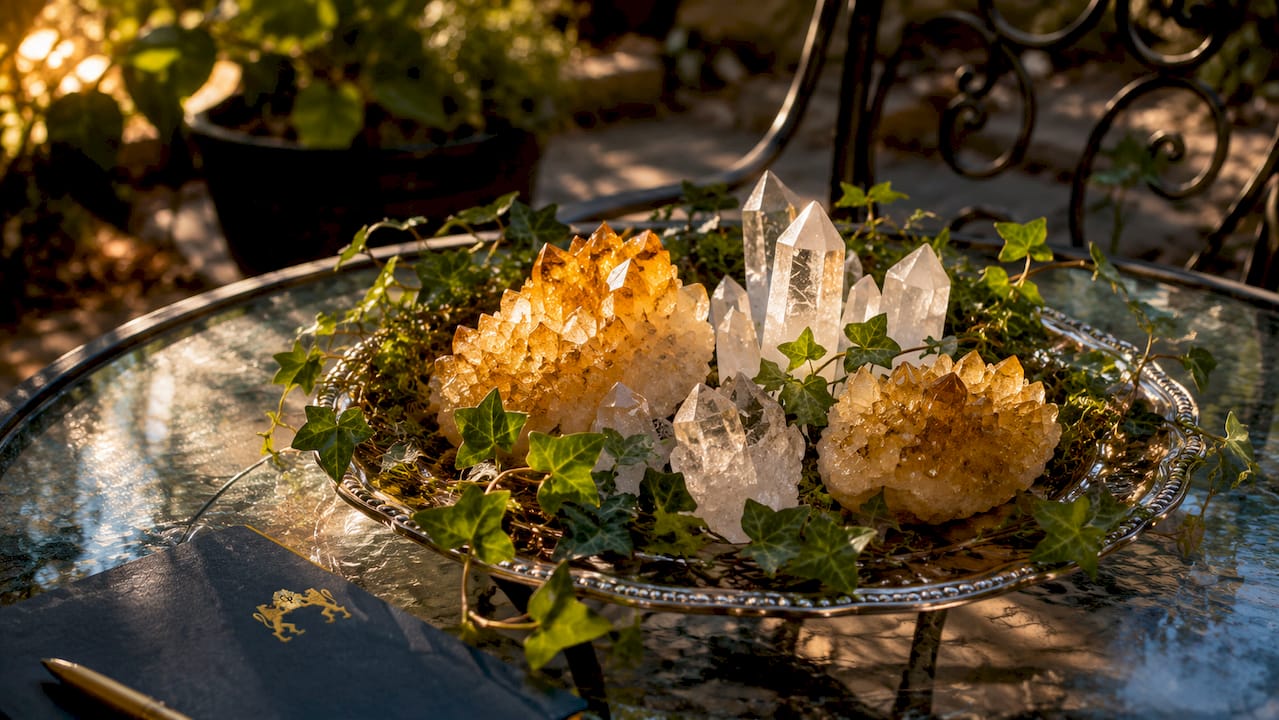
Color selection sets the emotional tone before a guest touches anything. Clear and white crystals read as formal and timeless. Amethyst and rose quartz add warmth and romance, making them popular for wedding centerpiece designs. Citrine and smoky quartz work well for autumn events or rustic themes. Limit your palette to two or three crystal colors per arrangement. More than three colors creates visual noise that no amount of arrangement skill can fix.
Integrate botanical elements with intention
Symmetrical flower arrangements within crystal vessels convey formality, while asymmetrical, wildflower compositions lend a contemporary feel. The botanical element should complement the crystal’s color, not compete with it. White ranunculus with clear quartz reads as clean and elegant. Dried pampas grass with smoky quartz creates a modern, earthy contrast. Match the botanical style to the event’s overall theme before you buy a single stem.
Elevate with bases and trays
Placing crystals on trays, stands, or pedestals signals intentional display rather than casual placement. A raw crystal sitting directly on a tablecloth looks like it was forgotten there. The same crystal on a mirrored tray or marble riser looks curated. This single adjustment is the fastest way to make a DIY crystal centerpiece look professional.
Pro Tip: Pair a glass reed diffuser vessel with your crystal arrangement to add subtle fragrance without competing visually. A hanging glass diffuser placed near the centerpiece adds sensory depth that guests notice without knowing why the table feels so inviting.
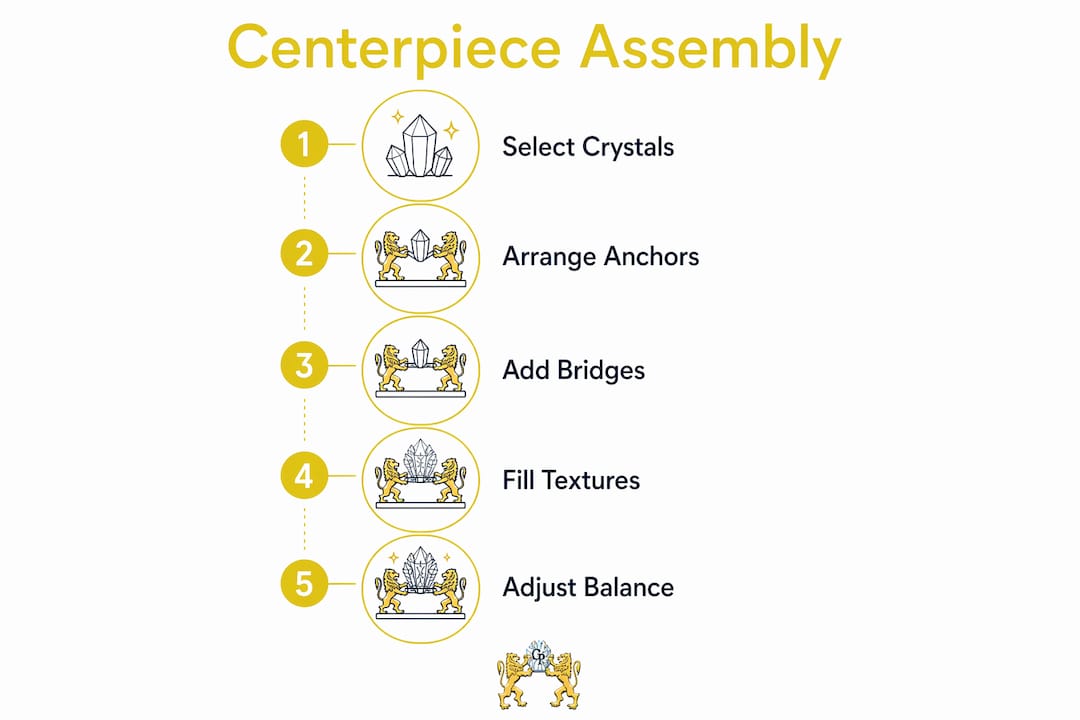
What are the step-by-step instructions to assemble a crystal centerpiece?
Assembling a crystal centerpiece follows a clear sequence. Skipping steps leads to the most common mistakes: overcrowding, mismatched scale, and poor light interaction.
-
Select your anchor piece first. Choose the largest, most visually striking crystal in your collection. This piece sets the scale for everything else. Place it slightly off-center on your tray or base. Centering the anchor creates a static, predictable look. Off-center placement creates movement.
-
Choose two bridge pieces. Select medium crystals that share at least one quality with the anchor, whether color, texture, or translucency. Place them at different heights using risers or folded linen to create a triangular eye path. Triangular placement using anchors and bridges creates visual movement and draws the eye across the full arrangement.
-
Add texture pieces in odd numbers. Groups of three or five small crystals read as intentional. Groups of two or four read as symmetrical and stiff. Tuck texture pieces into the gaps between bridge elements, not in a line around the perimeter.
-
Set your base and vessel. Slide the tray or low vase into position under the arrangement. If you are using a tall vase, fill the bottom third with small crystal chips or river stones before adding water and botanicals. This anchors the vessel visually and adds depth.
-
Add botanical elements last. Insert stems into floral foam or water after all crystal pieces are placed. Trim stems at varying heights so flowers sit at different levels within the arrangement. Never let botanical elements fully obscure a crystal piece.
-
Position your light source. Place an LED tea light beneath translucent pieces and a small pin light to the side of opaque stones. Test the lighting in the actual event space if possible, since ambient light changes how crystals read dramatically.
-
Conduct a final negative space check. Step back three feet and look at the arrangement. If your eye has nowhere to rest, remove one element. Editing to one statement piece or a tight grouping per surface creates maximum impact.
Pro Tip: Photograph the finished arrangement from the seated guest’s eye level, not standing. Guests experience centerpieces from a seated position, and a design that looks balanced from above can look top-heavy from a chair.
How do you troubleshoot and customize centerpieces for different events?
Even well-planned arrangements run into problems on the day. Knowing how to fix them quickly separates confident designers from stressed ones.
Fixing imbalance and clutter
Clutter is the most common problem in DIY crystal centerpieces. The fix is almost always subtraction, not addition. Curated collections with restraint differentiate sophisticated decor from clutter. Remove the piece that feels redundant, not the one you love most. If the arrangement still feels heavy after removing one piece, check whether your bridge pieces are too similar in size to your anchor. Scale contrast is what creates the sense of order.
Adapting to formal versus modern themes
Formal events call for symmetrical arrangements, clear or white crystals, and tall vessels. Modern or minimalist events work better with asymmetrical groupings, raw crystal edges, and low, wide trays. For rustic or bohemian weddings, mix crystal points with dried botanicals, wood slices, and linen runners. The crystal itself stays the same. The surrounding elements shift the entire mood. You can explore crystal centerpiece ideas across multiple event styles to find the right combination for your specific setting.
Adjusting for table size
Long banquet tables need multiple smaller groupings spaced evenly rather than one large centerpiece. Round tables under 60 inches work best with a single central arrangement no taller than 14 inches, so guests can see each other across the table. Tables over 60 inches can support taller arrangements because the sightline clears the centerpiece naturally.
Budget-friendly adjustments
Genuine crystal specimens can be expensive. For budget-conscious events, mix one or two real crystal anchor pieces with glass prisms, acrylic crystal beads, or mirrored elements. The anchor piece carries the authenticity. The surrounding elements amplify it. Crystalplace offers crystal prisms and hanging crystal components at accessible price points, making it practical to build a professional-looking arrangement without sourcing every piece as a collector’s specimen.
Transporting centerpieces safely
Pack each crystal piece individually in bubble wrap. Transport trays flat in shallow boxes lined with non-slip matting. Assemble botanical elements on-site rather than pre-assembling the full centerpiece at home. Crystals survive transport well. Flowers and foam do not.
The design principle most planners overlook
The most common mistake I see in crystal centerpiece design is treating the arrangement as a collection rather than a composition. Planners acquire beautiful pieces and then display all of them at once, which cancels out the impact of each individual stone.
Restraint is the actual design skill. Choosing which crystals to leave off the table is harder than choosing which ones to include. The arrangements that stop guests mid-sentence are almost always the ones with fewer pieces, not more. One extraordinary anchor crystal on a marble tray with two small quartz points reads as intentional luxury. Ten crystals of similar size reads as a mineral shop display.
Lighting is the second overlooked factor. I have seen genuinely stunning crystal collections fall flat because the event lighting was warm and diffuse, which killed the refraction entirely. Always test your lighting setup in advance. A single cool-toned LED pin light placed correctly can make a modest crystal arrangement look like it belongs in a five-star hotel lobby.
The role of crystal decor in events goes beyond aesthetics. A well-designed centerpiece becomes a conversation starter. Guests pick up the smaller pieces, ask about the stones, and engage with the table in a way that no floral arrangement alone achieves. That interaction is the real return on your design investment.
— BCC
Crystalplace’s crystal selection for your next event
Sourcing quality crystals is the foundation of any successful centerpiece design. Crystalplace has offered premium crystal prisms, hanging crystals, and decorative crystal components since 1991, with direct sourcing from authentic crystal brands including Swarovski.
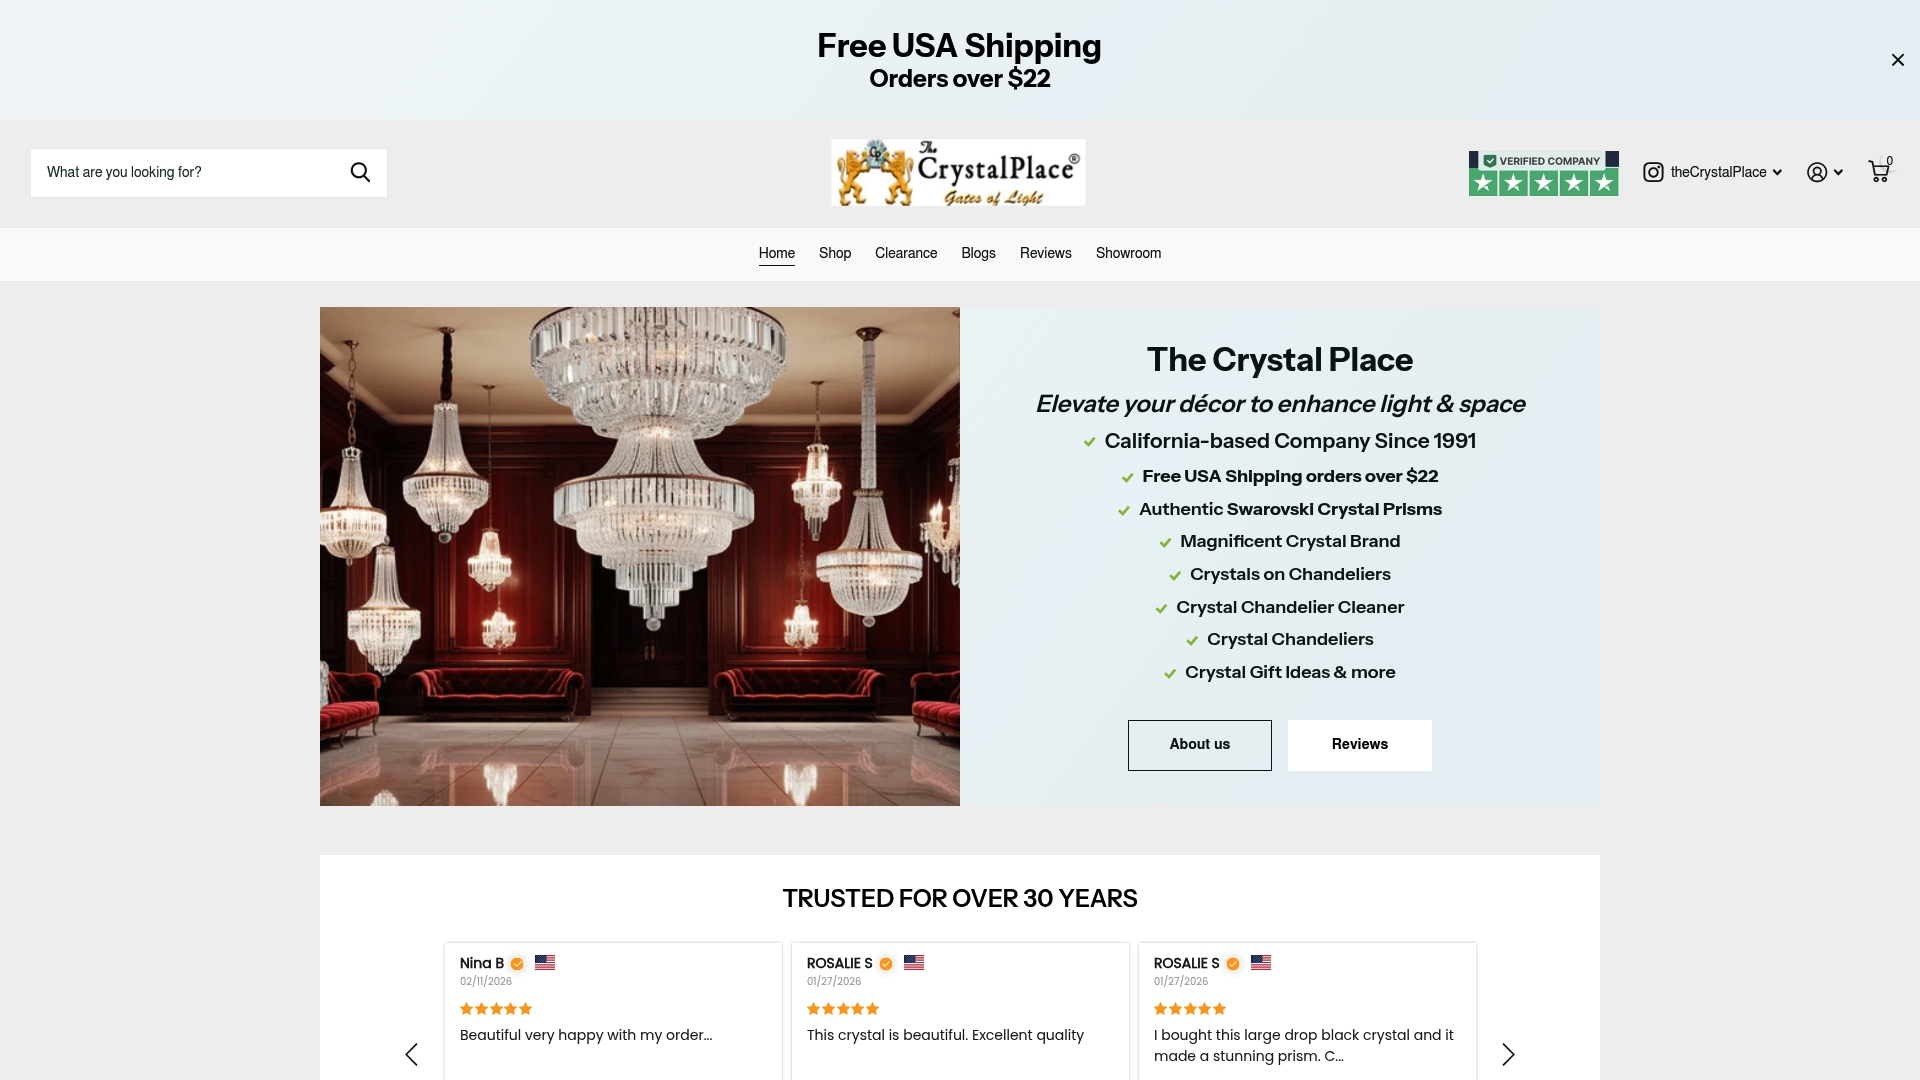
Whether you are building a single statement centerpiece for a wedding head table or outfitting an entire venue with coordinated arrangements, Crystalplace’s catalog covers the full range of sizes, shapes, and finishes. The site offers free shipping on orders over $22 within the USA, which makes it practical to order test pieces before committing to a full event order. Browse the full selection of crystal prisms and decor to find anchor pieces, texture crystals, and hanging elements that suit your event’s color palette and theme. For additional design guidance, the Crystalplace blog covers styling tips for polished decor that translate directly to event centerpiece work.
Key takeaways
Designing elegant crystal centerpieces requires intentional selection, compositional discipline, and correct lighting placement working together.
| Point | Details |
|---|---|
| Use the anchor-bridge-texture system | Categorize crystals by visual weight before arranging to create natural hierarchy. |
| Apply the 6:4 ratio | Leave four inches of clear space for every six inches of crystal to prevent visual clutter. |
| Elevate with bases and trays | Placing crystals on pedestals or trays signals intentional display and adds professionalism. |
| Match lighting to crystal type | Backlight translucent crystals and use side lighting for opaque stones to maximize brilliance. |
| Edit ruthlessly | One statement piece or a tight grouping of three to five crystals creates more impact than a crowded surface. |
FAQ
What crystals work best for event centerpieces?
Clear quartz, amethyst clusters, rose quartz spheres, and Swarovski crystal prisms are the most effective choices. They offer strong visual weight, color variety, and excellent light interaction under event lighting.
How do you arrange crystals without making them look cluttered?
Use odd-number groupings of three or five pieces, apply the 6:4 crystal-to-clear-space ratio, and limit your color palette to two or three tones. Removing one piece almost always improves a crowded arrangement.
Can you make DIY crystal centerpieces on a budget?
Yes. Use one or two genuine crystal anchor pieces and fill the surrounding arrangement with glass prisms, acrylic crystal beads, or mirrored elements. The real crystal carries the visual authority; the budget pieces amplify it.
How tall should a wedding table centerpiece be?
For round tables under 60 inches, keep centerpieces at or below 14 inches so guests can see each other. Taller arrangements work on larger tables where the sightline naturally clears the centerpiece.
How do you transport crystal centerpieces safely?
Wrap each crystal piece individually in bubble wrap, transport trays flat in shallow boxes with non-slip lining, and assemble botanical elements on-site. Pre-assembled arrangements with fresh flowers rarely survive transport intact.
Recommended
- Crystal centerpiece ideas for elegant events and home décor – CrystalPlace
- The Role of Crystal Decor in Events: 2026 Guide – CrystalPlace
- The Role of Crystal Beads in Design for Decorators – CrystalPlace
- Crystal Decor Styling Tips for a Polished Home – CrystalPlace