
Learn the essential steps for step by step chandelier assembly in this DIY guide. Ensure your fixture shines safely and beautifully!
TL;DR:
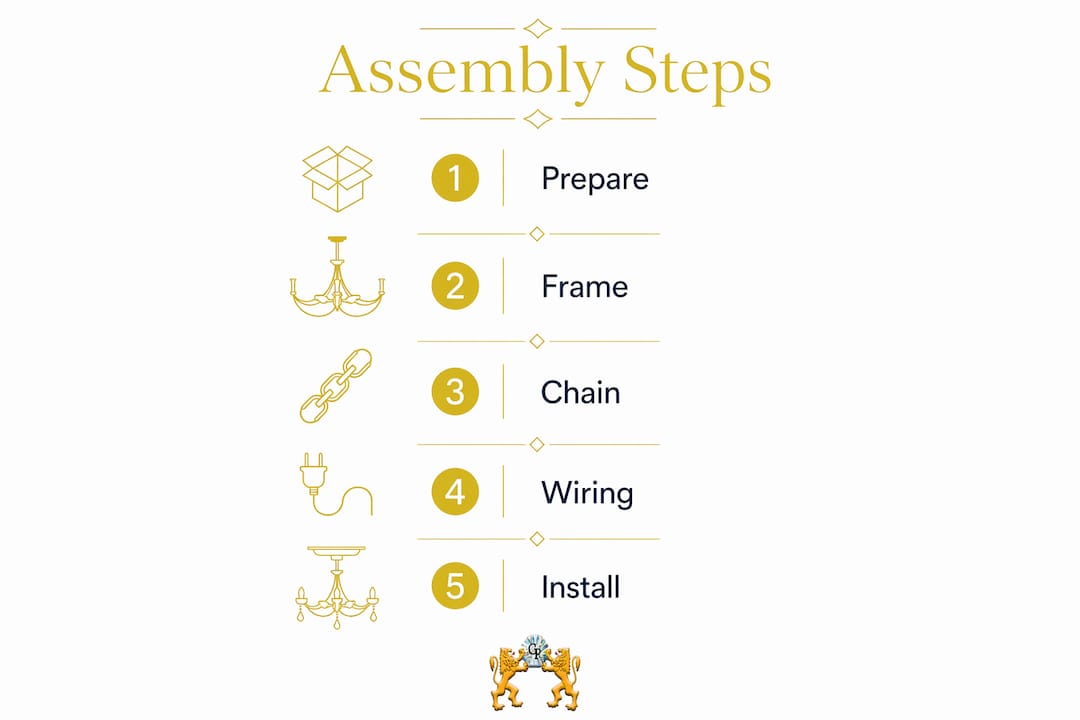
- Proper chandelier assembly involves careful safety preparation, accurate hardware installation, and a two-person teamwork approach. Ensuring power is cut at the breaker, verifying ceiling support, and assembling the frame on the floor help prevent accidents and errors. Attaching crystals from inside out after leveling the fixture creates a polished and visually appealing finish.
Step by step chandelier assembly is the process of safely putting together and installing a chandelier fixture by following precise, ordered instructions that cover electrical prep, mechanical mounting, and crystal finishing. Most DIYers underestimate how much work happens before the fixture ever leaves the floor. The real skill is in the preparation: confirming your ceiling box can handle the weight, gathering the right tools, and understanding your wiring before you touch a single wire nut. This guide walks you through every stage, from tools to final crystal placement, so your finished fixture hangs straight, glows evenly, and stays safe for years.
What tools and materials do you need for chandelier assembly?
The right tools make chandelier installation straightforward. Missing even one item forces you to stop mid-job, which is dangerous when you are working near open wiring.
Essential tools:
- Voltage tester (non-contact type preferred)
- Wire strippers
- Needle-nose pliers and standard pliers
- Phillips and flathead screwdrivers
- Power drill with bits
- Stable ladder rated for your ceiling height
- Safety glasses and work gloves
Materials you will need:
- All chandelier components (frame, arms, canopy, chain)
- Mounting bracket and hardware included with the fixture
- Wire nuts and electrical tape
- Replacement chain links if adjusting length
- Appropriate bulbs rated for your fixture’s wattage
Before you buy anything extra, review the chandelier parts guide to confirm you have every component accounted for. Missing a finial or a canopy screw is a common and avoidable delay.
Mounting hardware deserves special attention. Chandeliers over 33 lbs require mounting directly to a ceiling joist, not just the junction box. Standard junction boxes may support up to 50 lbs, but only with proper bracing. If your fixture is heavy, buy a ceiling fan brace bar rated for the load before you start.
| Component | Purpose |
|---|---|
| Voltage tester | Confirms wiring is dead before you touch it |
| Wire nuts | Secures wire connections inside the canopy |
| Mounting bracket | Attaches fixture to junction box or joist |
| Chain and links | Sets hanging height and routes wiring |
| Electrical tape | Insulates finished wire connections |
How to safely prepare your space before assembly
Electrical safety is not optional. One skipped step here causes injury or fire.
- Go to your main circuit breaker panel and switch off the breaker for the room where you are working. Turning off the wall switch is not enough. The wall switch often leaves wiring live at the ceiling box, which means you can still receive a shock.
- Test with a voltage tester at the ceiling junction box before touching any wires. Hold the tester near each wire. No beep or light means no current. This step is mandatory.
- Remove the existing fixture carefully. Note which wire connects where: black to black, white to white, and the bare copper or green wire is your ground.
- Inspect the junction box. Push on it firmly. If it moves or feels loose, replace it or install a ceiling brace before proceeding. A box that shifts under pressure will not hold a chandelier safely.
- Locate the ceiling joist if your chandelier weighs more than 33 lbs. Use a stud finder and mark the joist location with painter’s tape so you can align your mounting bracket precisely.
Pro Tip: Take a photo of the existing wiring before you disconnect anything. That photo is your reference if you get confused during reconnection.
Step-by-step process to assemble and hang your chandelier
This is the core of your chandelier assembly guide. Work through each step in order and do not skip ahead.

Assemble the frame on the floor
Assemble chandelier components on a clean flat surface before you go anywhere near the ladder. Lay out all parts, attach arms to the frame, and tighten every connection. This is far easier at waist height than above your head. Keep crystals packed and off the floor until the frame is fully secure on the ceiling.
Adjust the chain length
Recommended chain length is about 3 inches per foot of ceiling height for the best visual balance. Add 4 extra inches plus one chain link per hanging loop for fine-tuning. For an 8-foot ceiling, that means roughly 24–28 inches of chain. Use needle-nose pliers to open and remove links. Never cut the chain with wire cutters, since that leaves sharp edges that can damage the wiring inside.
Thread the wires through the chain and canopy
Feed the fixture wires up through each chain link carefully. The wires should run parallel to the chain without twisting. Pull them through the canopy last. Leave at least 6 inches of wire extending past the canopy so you have enough slack to make clean connections at the ceiling box.
Mount the bracket to the ceiling box
Attach the mounting bracket to the junction box using the screws provided. Loose brackets cause crooked or unstable fixtures, so tighten each screw fully. If the box is rated for a fan or heavy fixture, use the longer screws that came with the brace kit.
Lift and connect the wiring
Chandelier installation is a two-person job. One person holds the fixture at ceiling height while the other makes the wire connections. One-person lifting risks thread stripping, fixture damage, and back injury. Connect black wire to black, white wire to white, and attach the bare copper or green ground wire to the grounding screw on the bracket. Twist each pair together firmly, cap with a wire nut, and wrap the base of each nut with electrical tape.
Pro Tip: Wrap each completed wire nut connection with two full loops of electrical tape before tucking wires into the box. This prevents connections from loosening over time due to vibration.
Secure the canopy and level the fixture
Slide the canopy up to the ceiling and tighten the canopy ring or screws. Step back and check that the fixture hangs level. If it tilts, loosen the canopy, adjust the chain attachment point, and retighten. A level fixture is a sign of a clean installation.
How to install chandelier crystals and finishing touches
Crystal installation is where your chandelier transforms from a frame into a statement piece. Handle every crystal carefully since chips and scratches catch light in the wrong way.
Follow this order for best results:
- Keep crystals in their packaging until the frame is fully mounted and level
- Dress crystals from inside out and bottom to top for the cleanest visual layering and to reduce the risk of knocking off already-placed pieces
- Use the manufacturer-supplied pins and clips; replace any that are bent or missing before you start
- Wear cotton gloves when handling crystals to prevent fingerprints that dull the finish
For a deeper look at this process, the crystal installation guide from Crystalplace covers each attachment method by fixture type.
Bulb selection matters more than most people realize. Install bulbs rated at or below the fixture’s maximum wattage. LED candelabra bulbs are the standard choice today because they run cooler and last longer than incandescent options. Confirm dimmer switch compatibility with both the bulbs and the fixture before you finalize wiring. Not all LED bulbs work with all dimmer switches, and a mismatch causes flickering or buzzing.
Pro Tip: Buy two or three extra crystals in the same style before you finish the job. Crystalplace stocks genuine replacement crystals by size and style, so matching them later is straightforward if one breaks.
Once all crystals and bulbs are in place, restore power at the breaker and test the fixture. Check that every bulb lights, that the dimmer responds smoothly if installed, and that the fixture hangs without swaying.
What common mistakes should you avoid during installation?
Most chandelier assembly problems trace back to a handful of repeated errors. Knowing them in advance saves you a second trip up the ladder.
- Skipping the breaker step. Turning off only the wall switch leaves the ceiling wires live. Always cut power at the panel and verify with a voltage tester.
- Ignoring ceiling box weight limits. A standard box without bracing is not rated for most chandeliers. Check the fixture weight and match it to a rated box or joist mount.
- Loose wire connections. Wires that are not twisted tightly before capping cause flickering, tripped breakers, or outages. Twist firmly, cap with a wire nut, and tape.
- Wrong chain length. A chain that is too short makes the fixture look cramped. One that is too long puts it in the sightline of people standing in the room. Use the 3-inches-per-foot rule as your starting point.
- Skipping dimmer compatibility checks. This is one of the most common finishing mistakes. Dimmer switch compatibility must be confirmed for both the bulb type and the fixture rating before you finalize anything.
- Installing crystals before the frame is level. A crooked frame means every crystal hangs at a slight angle. Level first, then dress.
If a crystal feels loose after installation, remove it, inspect the pin or clip, and replace the hardware before rehooking. Never force a bent pin back into place since it will fail again quickly.
For guidance on replacing damaged pieces, the crystal replacement guide from Crystalplace covers the process without guesswork.
Key takeaways
Successful chandelier assembly depends on safety preparation, correct mounting hardware, and a two-person team working through each stage in the right order.
| Point | Details |
|---|---|
| Cut power at the breaker | The wall switch alone leaves ceiling wires live; always verify with a voltage tester. |
| Match hardware to fixture weight | Chandeliers over 33 lbs need joist mounting or a rated ceiling brace, not just a standard box. |
| Assemble on the floor first | Building the frame at ground level reduces errors and speeds up the ceiling mount. |
| Use the 3-inch chain rule | Set chain length at roughly 3 inches per foot of ceiling height for proper visual balance. |
| Install crystals last | Dress crystals inside out and bottom to top only after the frame is mounted and level. |
What i have learned after years of watching diyers tackle chandeliers
Most people who struggle with chandelier installation make the same mistake: they treat it as a one-person job done in one continuous push. That approach leads to stripped threads, crooked fixtures, and occasionally a dropped chandelier.
The two-person rule is not a suggestion. It is the single most important factor in a clean installation. One person cannot safely hold a 40-lb fixture at arm’s length above their head while simultaneously making wire connections. The physics simply do not work in your favor.
The second thing I would tell any DIYer is to do more on the floor than you think you need to. Attach every arm, tighten every screw, and adjust the chain length before the fixture goes anywhere near the ceiling. Every minute you spend on the floor saves three minutes on the ladder.
Finally, do not rush the crystal phase. The frame going up is the mechanical work. The crystals are the craft. Take your time, work inside out and bottom to top, and use quality pins. A chandelier dressed with care looks entirely different from one where crystals were hung quickly and unevenly. The difference is visible from across the room.
— BCC
Find everything you need at Crystalplace

Crystalplace has supplied genuine crystal chandelier components since 1991, sourcing directly from authentic crystal brands including Swarovski. Whether you are completing a new installation or replacing worn parts, you will find the exact crystal prisms and accessories your fixture needs. The site carries crystal beads, finials, replacement pins, and hanging crystals in sizes and styles that match most major chandelier designs. Orders over $22 ship free within the USA. Browse the full selection and get your chandelier looking exactly the way you envisioned it.
FAQ
What is the correct chain length for a chandelier?
The standard formula is 3 inches of chain per foot of ceiling height. Add 4 extra inches plus one chain link per hanging loop for final positioning adjustments.
Do i need to turn off the main breaker before installing a chandelier?
Yes. The wall switch alone does not cut all power to the ceiling box. Turn off the circuit breaker for that room and confirm with a voltage tester before touching any wires.
Can one person install a chandelier alone?
No. Chandelier installation requires two people: one to hold the fixture at ceiling height and one to make the wire connections. Solo lifting risks fixture damage and injury.
In what order should i attach chandelier crystals?
Attach crystals from the inside of the fixture outward, and from the bottom tier upward. This order protects already-placed crystals and produces the cleanest finished appearance.
How do i know if my ceiling box can support my chandelier?
Check the weight rating stamped on the box. Standard boxes may support up to 50 lbs with proper bracing, but fixtures over 33 lbs should mount directly to a ceiling joist for reliable support.
Recommended
- How to replace chandelier parts: a 2026 DIY guide – CrystalPlace
- Workflows for Chandelier Repair: A DIY Guide – CrystalPlace
- Chandelier crystal installation: step-by-step guide 2026 – CrystalPlace
- How to Install Chandelier Crystals for Stunning Results – CrystalPlace