

Explore chandelier crystal draping methods to enhance your decor. Learn techniques for stunning visual effects and elevate your space today!
TL;DR:
- Chandelier crystal draping methods include strand, swag, and layered styles, each creating unique visual effects. Proper installation emphasizes mounting the frame first, following a balanced circular pattern, and working from bottom to top with two people. Creative ideas like combining textiles, lighting, and seasonal themes personalize chandeliers, while maintenance and setting determine the best draping choice.
Chandelier crystal draping methods are techniques for arranging and attaching crystal strands, swags, or layered strings to a chandelier frame to create deliberate visual effects. The three core approaches are strand draping, swag draping, and layered draping, each producing a distinct look and requiring different installation skills. Crystalplace has supplied authentic crystal prisms and chandelier accessories since 1992, making it a reliable source for decorators and event planners who need consistent quality across large installations. Whether you are refreshing a dining room fixture or dressing a ballroom chandelier for a wedding, the method you choose shapes everything from sparkle intensity to cleaning frequency.
1. Chandelier crystal draping methods: the three core techniques
The three foundational chandelier crystal draping methods are strand draping, swag draping, and layered draping. Each one produces a different visual result and suits different room types and budgets.

Strand draping is the most common starting point. Crystal strands hang vertically from the chandelier frame, following its natural silhouette. This method highlights the fixture’s shape and works well in rooms where the chandelier is a focal point but not the only decorative element. Strand draping is also the easiest to maintain because individual strands detach without disturbing the rest of the installation.
Swag draping creates graceful horizontal curves between anchor points on the frame. The crystals loop downward in a catenary arc, adding softness to angular fixtures. Event planners favor swag draping for weddings and galas because the curved lines photograph well and create a sense of movement even in a still room.
Layered draping stacks multiple strand lengths at different depths to build visual density. Short strands sit close to the frame, medium strands hang below them, and long strands trail furthest down. The result is a waterfall effect that catches light from multiple angles. Layered draping takes the most time to install and the most effort to clean, but it delivers the highest visual impact per fixture.
Pro Tip: Before committing to a method, photograph your chandelier from the seated eye level of the room. Swag draping reads best from below, while layered draping looks most dramatic from across the room.
The materials used for crystal stringing methods matter as much as the technique. Steel wire, nylon monofilament, and pre-strung brass pins are the three standard options. Brass pins are the industry default for Swarovski and precision-cut crystal because they grip the crystal’s drilled hole without cracking it under tension.
2. Step-by-step crystal draping installation process
Safe installation follows a fixed sequence. Crystal installation must begin only after the chandelier frame is securely mounted and wired. Attaching crystals before mounting the frame adds weight that stresses the ceiling bracket and makes the fixture nearly impossible to level.
Step 1: Prepare the frame. Use heavy pliers to adjust chain length and thread the electrical cord correctly before any crystal work begins. Wiring and chain adjustment are key preparation steps that cannot be corrected easily once crystals are in place.
Step 2: Lay out your crystals. Unpack every crystal strand and sort them by length and type. Crystals should always be unpacked separately from the frame during transport and installation to protect fragile glass and metal pins from breaking.
Step 3: Follow the manufacturer’s crystal map. Most manufacturers provide a numbered diagram that assigns each crystal strand to a specific position on the frame. Following this map produces an even, professional result and prevents the fixture from hanging crooked.
Step 4: Install from the bottom up. Draping crystals from the bottom upward minimizes contact with strands already secured and reduces breakage. Working top to bottom forces your hands and arms past finished sections repeatedly, which is the leading cause of accidental damage during installation.
Step 5: Load the frame in a balanced, circular pattern. Installing crystals unevenly on one side causes the fixture to tilt and puts mechanical stress on the ceiling mount. Work around the frame in a circle, adding one strand per position before moving to the next tier.
Step 6: Use two people. One person handles the crystals at the fixture level while the second steadies the frame and tracks the crystal map. This division of labor cuts installation time and prevents the most common mistake: attaching a strand to the wrong hook.
“Never lift a chandelier frame with crystals already attached. The combined weight and the uneven load distribution create a serious injury risk and almost always damage the crystals before the fixture reaches the ceiling.”
Pro Tip: Wear clean cotton gloves during installation. Skin oils leave permanent marks on precision-cut crystal that show up clearly once the lights are on.
For a detailed walkthrough of the full process, the chandelier crystal installation guide at Crystalplace covers each step with fixture-specific notes.
3. Creative decorative draping ideas to personalize your chandelier
Crystal draping does not have to follow a standard pattern. The most memorable installations combine crystal with other materials, lighting, and seasonal themes to create something specific to the space.
Here are the most effective creative approaches decorators use:
- Fabric and crystal combinations. Wrapping velvet ribbon or linen cord around the chandelier frame before adding crystal strands creates a layered texture that reads as luxurious. Mixing crystal drapes with textiles like velvet or linen is a recognized technique in upscale event decor and high-end residential interiors.
- String lights woven into drapes. Thin LED string lights threaded through crystal strands add a warm glow that amplifies the prismatic effect of the crystal. This works especially well in rooms with low ambient light, where the crystals alone would not catch enough light to sparkle.
- Mixed crystal cuts and lengths. Combining teardrop, pendeloque, and octagon cuts within a single drape creates visual complexity without adding more strands. Longer cuts at the outer edge and shorter cuts near the frame center the eye on the fixture’s core.
- Seasonal and theme-based draping. For winter events, clear crystal strands paired with silver wire and white ribbon create a frost effect. For garden-themed weddings, pale green and amber crystals mixed with natural twine read as organic and warm. Swapping out seasonal drapes is practical only with strand draping, where individual strands detach cleanly.
- Color-tinted crystals for mood. Pale rose, champagne, and smoky gray crystals shift the color temperature of the light the fixture throws. Rose-tinted crystals warm a room with cool white walls; smoky gray crystals add drama to a space with warm wood tones.
For inspiration on crystal types and cuts that work best for decorative draping, Crystalplace catalogs the full range of shapes available for chandelier use.
4. Comparison of draping methods by effect and practicality
Choosing the right technique depends on the setting, the available installation time, and how often the fixture will need cleaning. The table below compares the three core methods across the criteria that matter most to decorators and event planners.
| Criterion | Strand draping | Swag draping | Layered draping |
|---|---|---|---|
| Visual impact | Moderate | High (curved lines) | Very high (waterfall effect) |
| Installation complexity | Low | Moderate | High |
| Best setting | Residential, everyday use | Events, ballrooms | Showrooms, grand lobbies |
| Maintenance frequency | Low | Moderate | High |
| Durability | High | Moderate | Moderate |
| Suitable for DIY | Yes | With practice | Recommended for professionals |
Draping style directly affects maintenance needs and the long-term durability of the installation. Strand draping wins on practicality for homeowners who clean their fixtures twice a year. Layered draping suits commercial spaces where a professional cleaning crew handles the fixture on a set schedule.
Swag draping sits in the middle. It delivers high visual impact for events but requires more careful handling during setup and takedown. Event planners who use swag draping repeatedly invest in a storage system that keeps the pre-formed swag shapes intact between uses.
For guidance on selecting crystal types that hold up well under each draping method, Crystalplace provides detailed product notes on durability and light refraction by cut.
Key takeaways
The most effective chandelier crystal draping method balances visual impact, installation safety, and maintenance practicality for the specific setting.
| Point | Details |
|---|---|
| Choose method by setting | Strand draping suits homes; swag suits events; layered draping suits commercial spaces. |
| Install bottom to top | Starting at the bottom prevents hand contact with finished strands and reduces breakage. |
| Follow the crystal map | Manufacturer diagrams keep weight balanced and prevent the fixture from tilting. |
| Two-person installation | One person attaches crystals while the second tracks placement and steadies the frame. |
| Match crystal cut to effect | Mixed cuts (teardrop, pendeloque, octagon) add depth without increasing strand count. |
What I’ve learned from watching decorators get crystal draping wrong
Most installation mistakes happen in the first ten minutes. A decorator skips the crystal map, starts at the top of the fixture, and loads one side before the other. By the time the chandelier goes up, it hangs at a visible angle and the crystal density is uneven. Fixing it means taking every strand off and starting over.
The bottom-up, circular installation sequence is not a suggestion. It is the only method that consistently produces a level, evenly loaded fixture. I have seen experienced decorators resist it because it feels counterintuitive to start at the bottom of something you are building upward. The logic is simple: your hands never cross finished work.
The second mistake is choosing a draping method based on photographs rather than the actual room. Layered draping looks extraordinary in a ballroom with 20-foot ceilings and professional lighting. In a dining room with 9-foot ceilings, the same technique makes the fixture look heavy and the room feel smaller. Swag draping is almost always the better choice for mid-height residential ceilings because the horizontal curves draw the eye outward rather than downward.
The third mistake is underestimating cleaning. Simpler strand draping is significantly easier to maintain than elaborate layered arrangements. If you are draping a fixture in a kitchen or a room with a fireplace, choose the method you can clean without a full teardown. Crystalplace stocks crystal chandelier cleaning solutions designed for in-place cleaning, which extends the time between full reinstallations considerably.
— BCC
Quality crystals for your next draping project
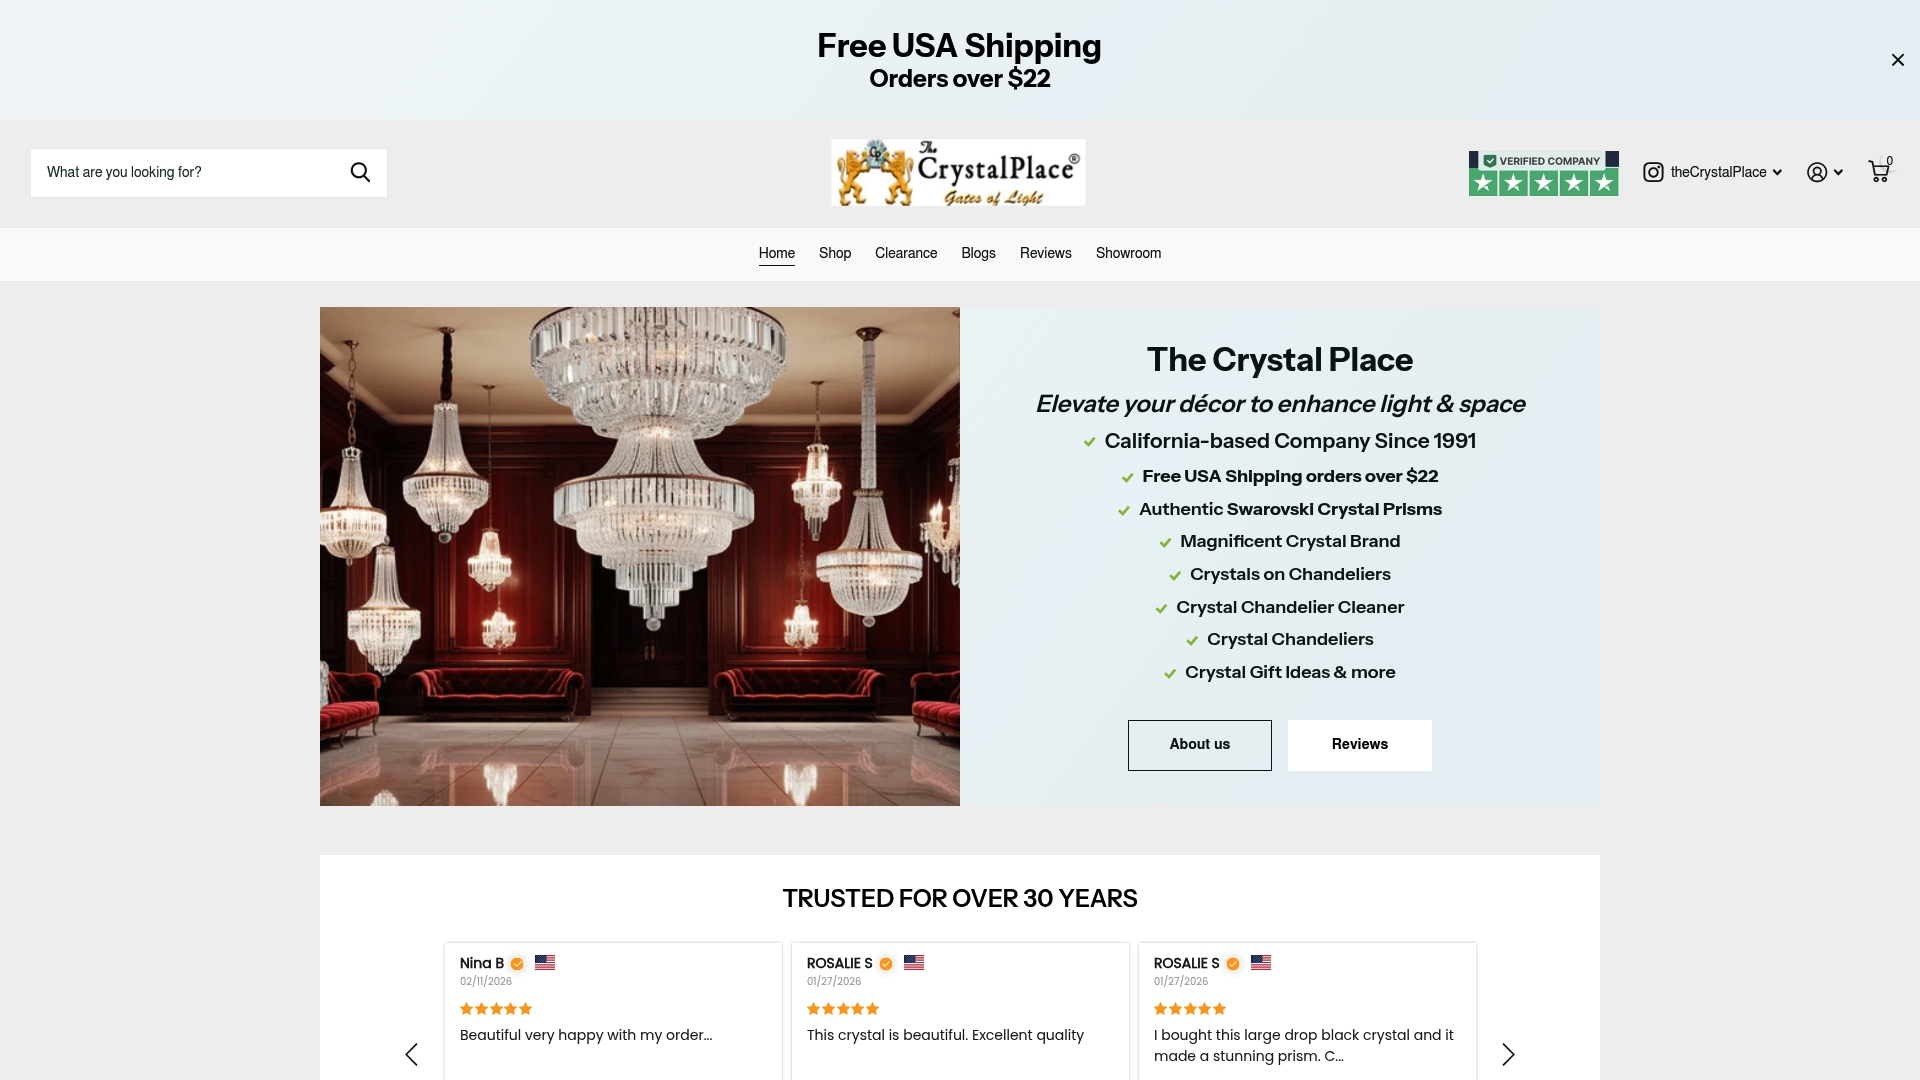
Crystalplace has sourced authentic crystal prisms, strands, and chandelier accessories directly from trusted manufacturers since 1992. The full product range covers every draping method described here, from individual pendeloque drops for strand draping to pre-strung octagon chains for layered installations. Every order over $22 ships free within the USA, which matters when a single project can require dozens of individual strands.
For decorators and event planners working on large installations, Crystalplace also offers repair and custom assembly services. The crystal prisms and hanging accessories available on the site include Swarovski-quality options alongside more affordable precision-cut alternatives, so you can match material quality to project budget without compromising the final look.
FAQ
What are the main chandelier crystal draping methods?
The three main methods are strand draping, swag draping, and layered draping. Each produces a different visual effect and suits different settings, from everyday residential use to large event installations.
Should I install crystals before or after mounting the chandelier?
Always mount and wire the chandelier frame first. Attaching crystals before mounting adds uneven weight and creates a serious injury risk during lifting.
How do I keep a crystal chandelier balanced during installation?
Follow the manufacturer’s numbered crystal map and load the frame in a circular pattern, adding one strand per position before moving to the next tier. This keeps the center of gravity stable and prevents tilting.
Can I mix different crystal cuts in one draping design?
Yes. Combining cuts like teardrop, pendeloque, and octagon within a single drape adds visual depth without increasing the number of strands. Place longer cuts at the outer edge and shorter cuts near the frame for the best effect.
How often does a draped crystal chandelier need cleaning?
Strand draping requires the least frequent cleaning and is the easiest to maintain. Layered draping collects dust faster and typically needs professional cleaning on a regular schedule, especially in commercial spaces.
Recommended
- Custom chandelier design: Step-by-step guide to stunning results – CrystalPlace
- Crystal Garlands That Transform a Chandelier – CrystalPlace
- Elevate Your Chandelier with Crystal Garland – CrystalPlace
- Chandelier crystal installation: step-by-step guide 2026 – CrystalPlace